
No knead bread became a thing for us some time ago….while we still lived in a house….with a big fridge and a convection oven. What COVID added to the mix was our own sourdough which we started with wild yeast (ie open to the air and whatever yeasts volunteered to join the process ) and supplemented intermittently with the residue from some of the yummiest craft brewed beers. (That lovely little cloudy bit at the bottom of the glass)
The resulting sourdough starter we have…we think is pretty spectacular……..and its active enough that we keep it in the fridge to keep it under some semblance of control.
The recipe we use ..which is a modification of Jim Lahey’s No-knead Bread | Lodge Cast Iron from the Lodge Cast Iron website.
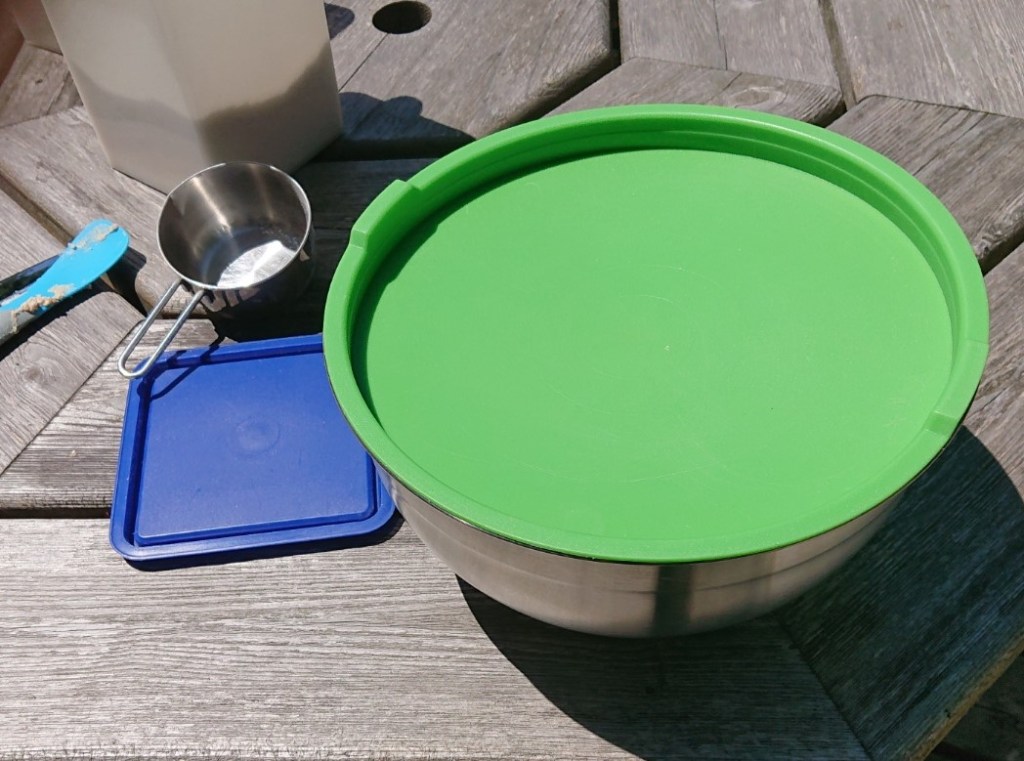
Equipment
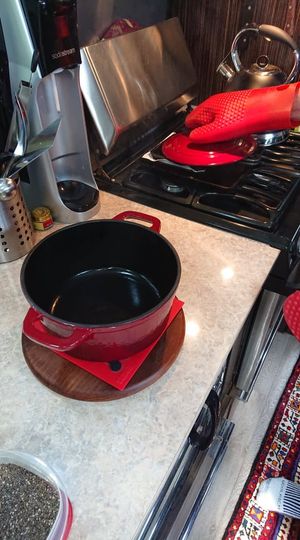
You will need a 3 quart cast iron dutch oven to bake the bread. (it can be bigger but your loaf will end up more flattened). Your dish will need to have a lid. This method works by keeping the steam inside the dish as the bread bakes …so it works like a mini bakers oven.
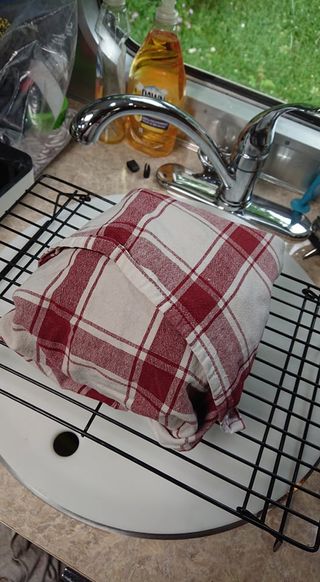
Elevated cooling tray ( or a regular cooling tray on top of a large bowl works. You want to allow air to circulate freely under your fresh hot bread cos nobody likes a soggy bottom.)
Good oven gloves
Recipe.
- 4 cups of flour ..any kind, we usually do a mix (if you are using something other than white flour don’t use more than 25% of it…or the dough ends up too stiff to rise properly)
- 2 teaspoons salt
- 1 teaspoon sugar (brown , white , honey or maple syrup..!!)
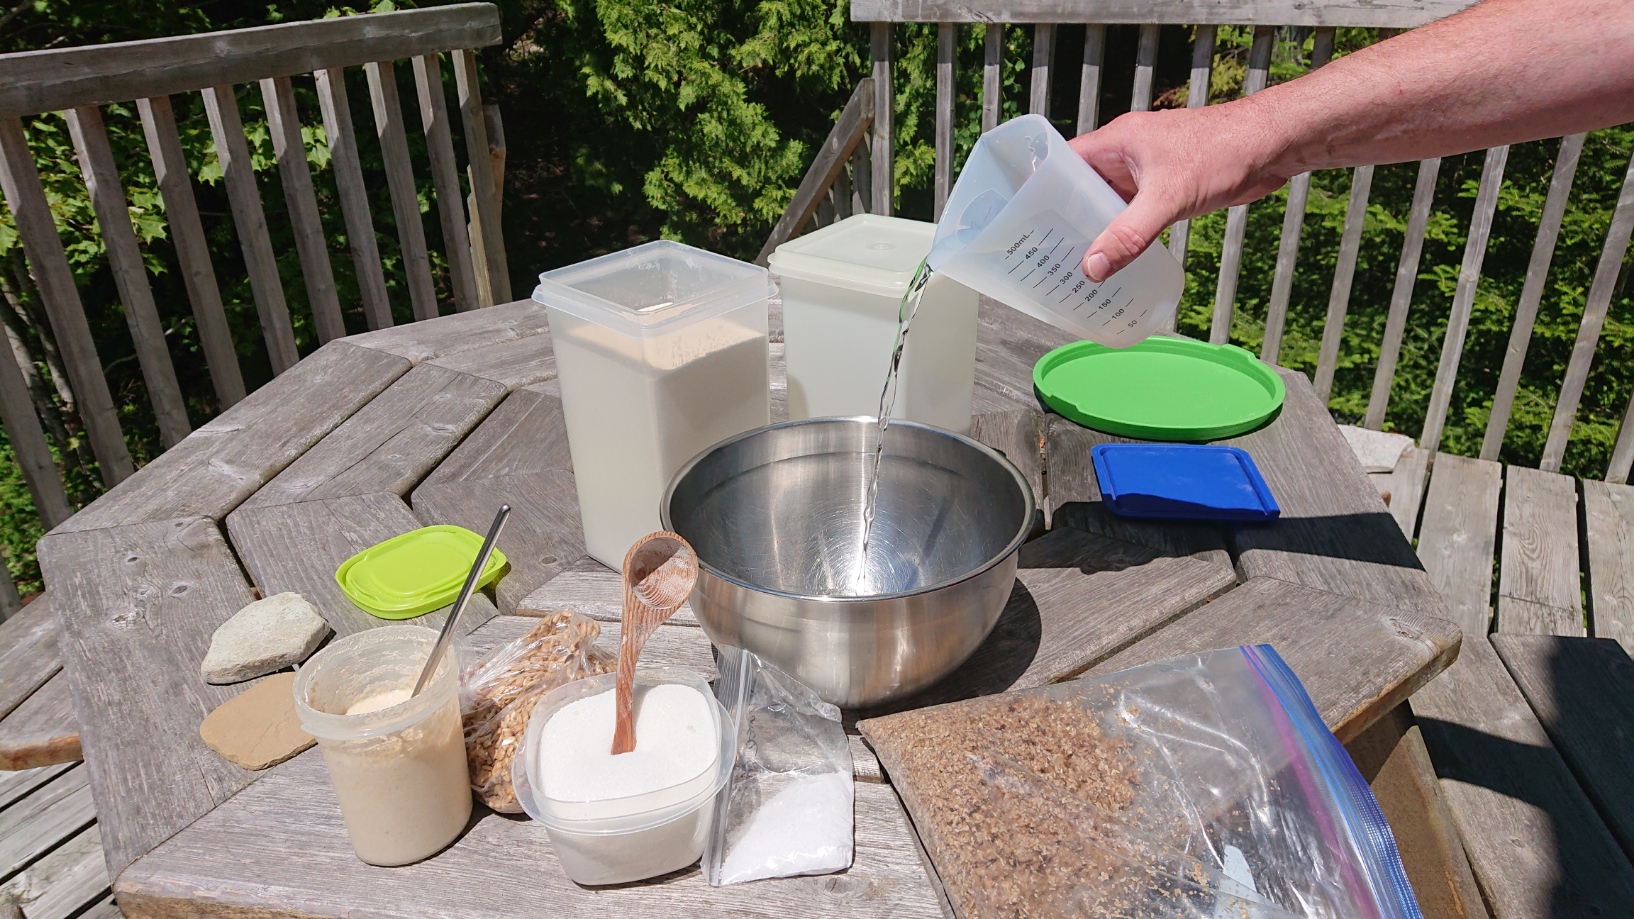
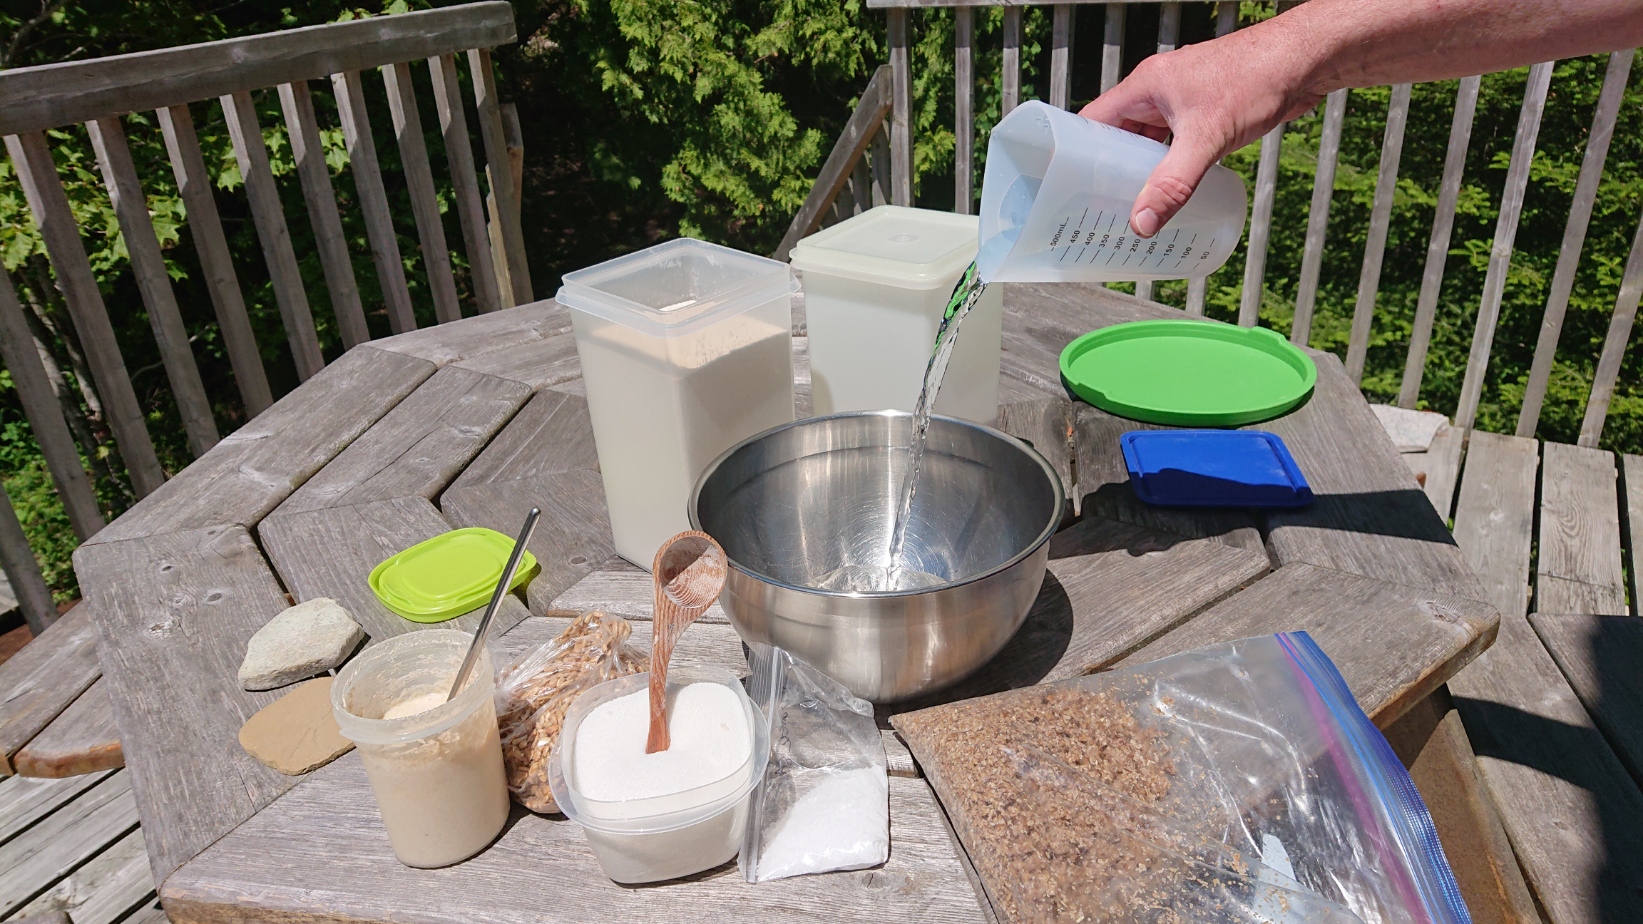
- 2 cups (500 mls) water
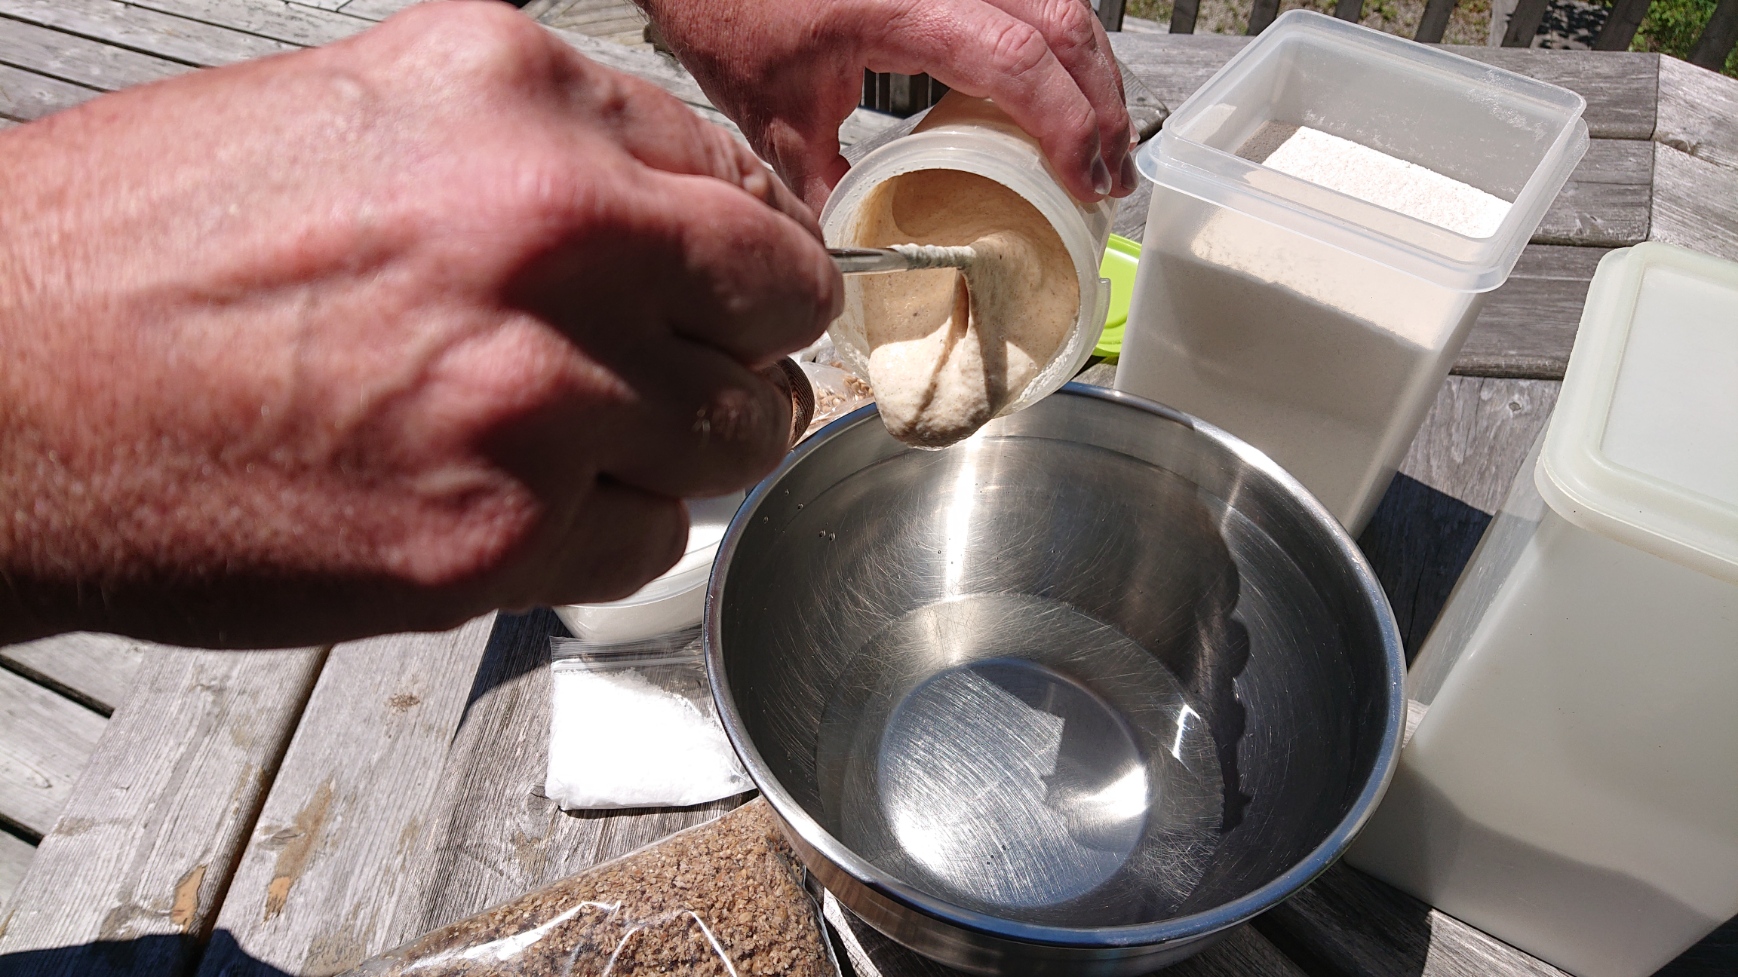
- half a cup of starter ( or 1tsp dry active yeast if you are not doing sourdough)
- a handful of coarse cornmeal (or some other kind of seeds to put in the bottom of your dutch oven to stop the dough sticking to the pot.)
NOTE :- You can add a handful of sunflower seeds, pumpkin seeds…(roasted, unsalted) or any other seeds you fancy…( hemp, chia, poppy seed, sesame seed…)…..or a mix . Other options here would be a quarter cup of 7 grain or 12 grain if you like.
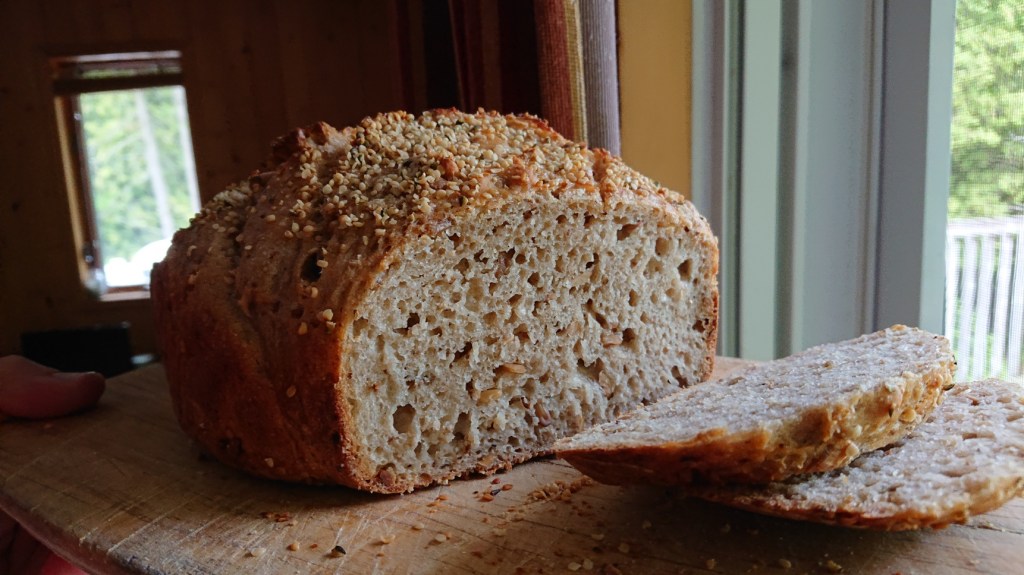
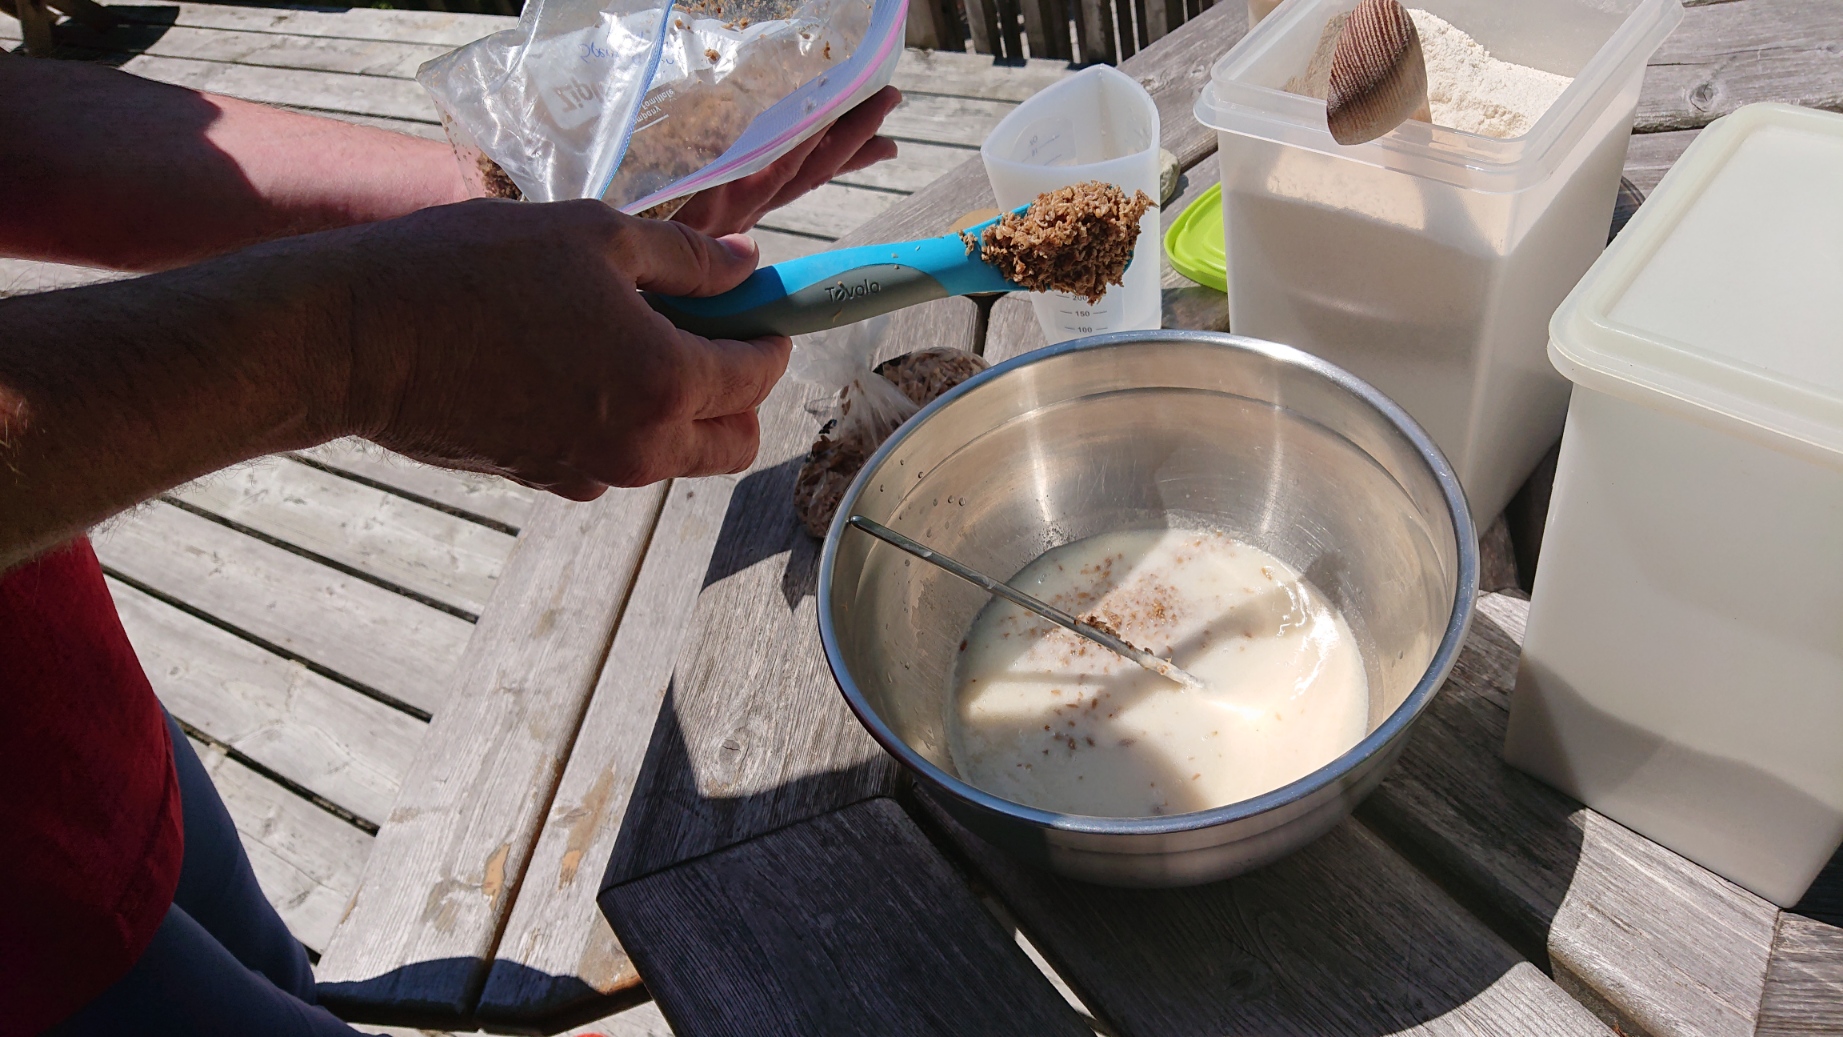
The bread featured also had about a quarter cup of spent grains from the Paris brewery (leftover grains from brewing the beer)


We used the unbleached stone ground flour from Goodness Me……its a bit more expensive but it gives the bread a lovely texture.
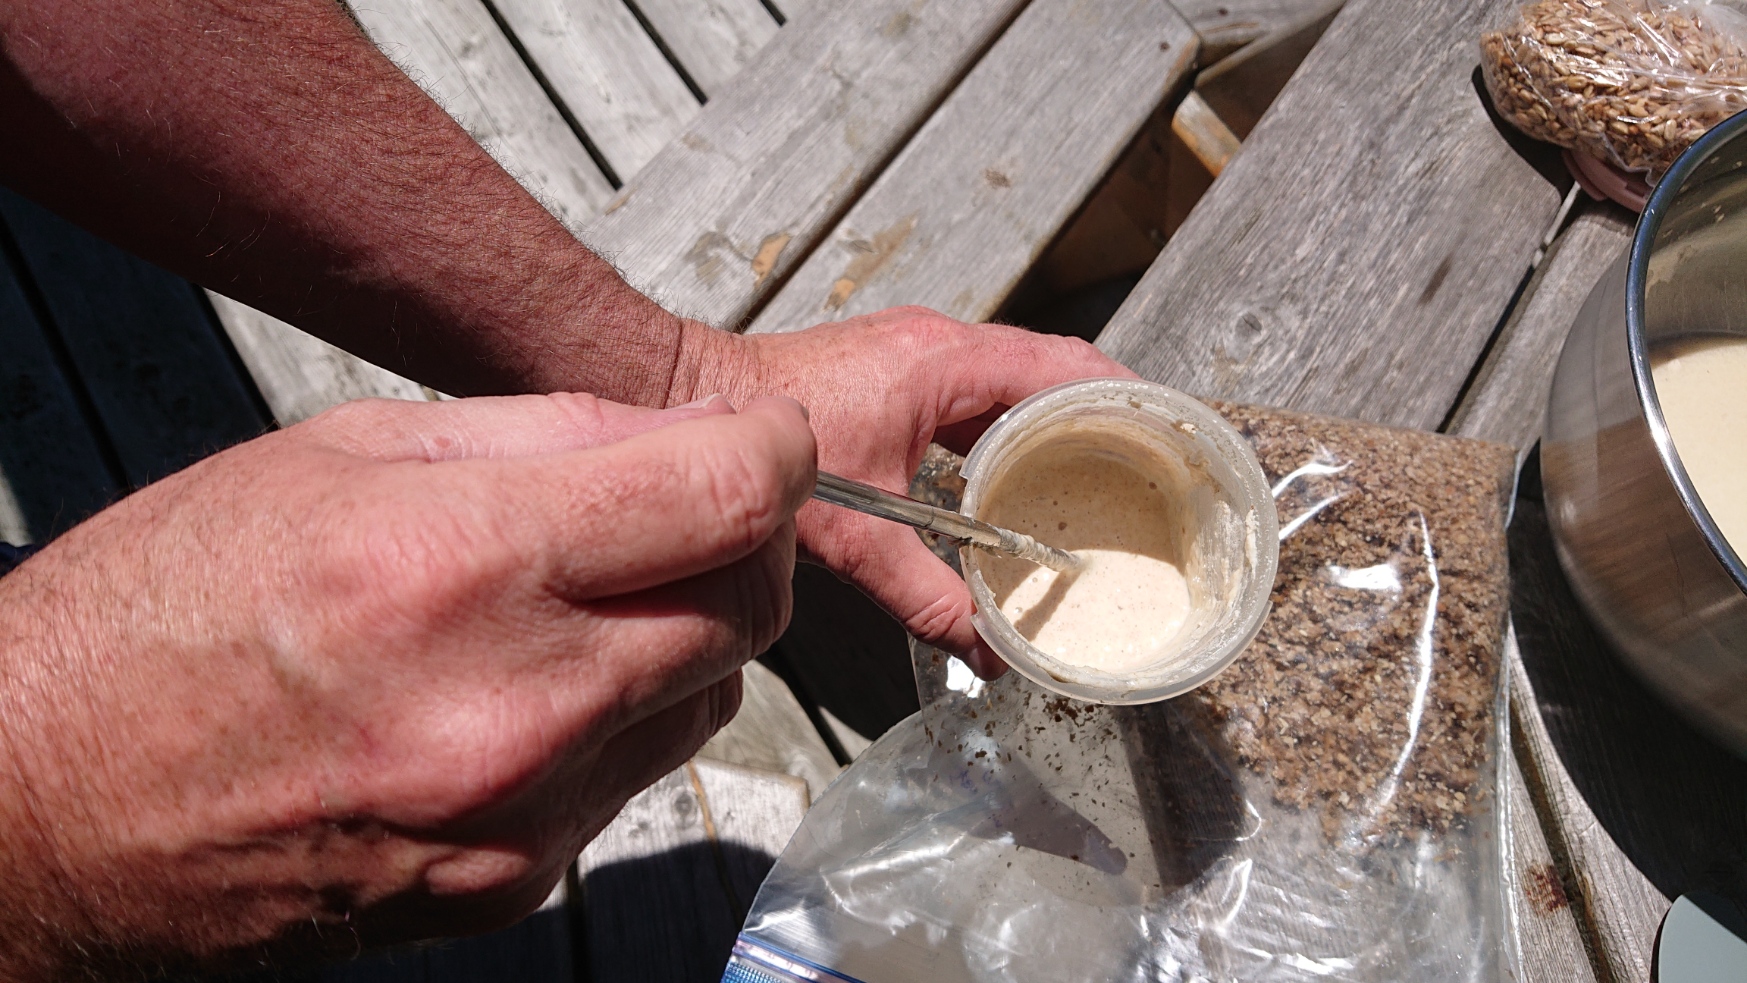
We also found this great little spice container from Tupperware…..it has a two part lid that lets the starter breathe…not what it was intended for but it works a treat. I wouldn’t have chosen pink for colour….but it was a thrift store find..!!! …and it works. Most importantly for trailer life….its not glass. When we lived in a house…we just used a regular 500ml mason jar. (ALWAYS put the lid on loosely…..the yeast is fermenting and growing. If the lid is on too tight and it can’t breathe the jar may crack….or explode…!!)
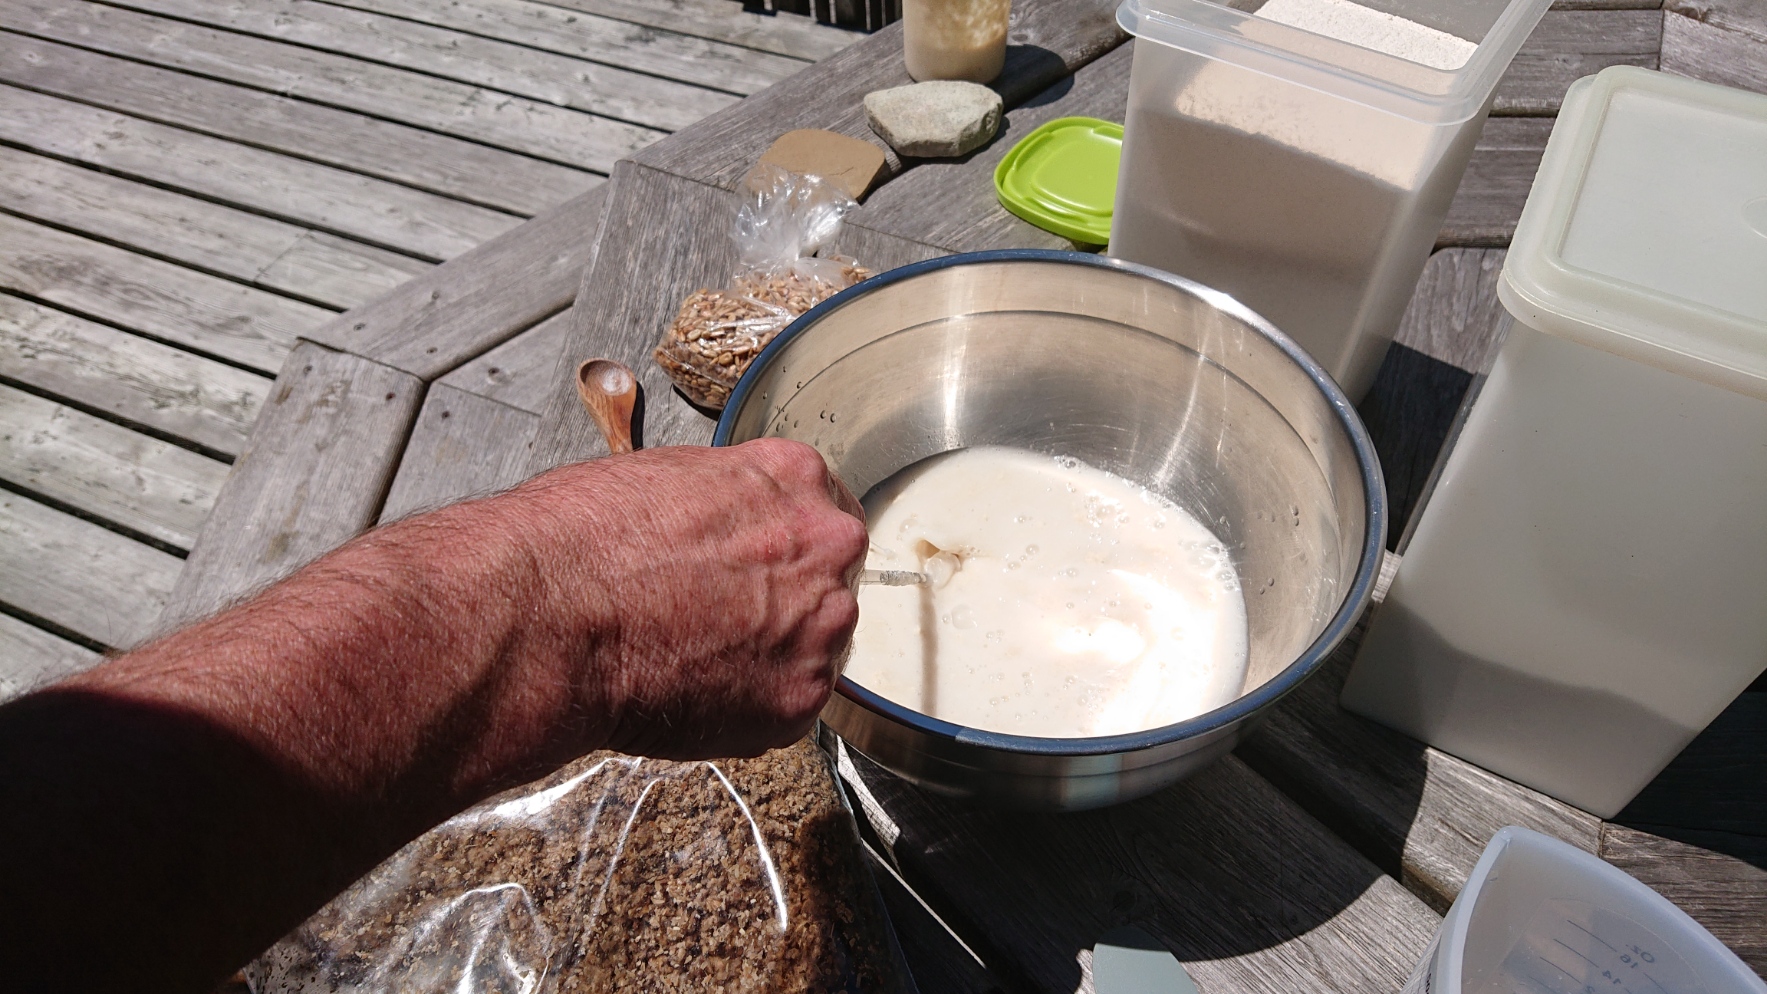
Add the water to the bowl…….(room temperature)


Then add the starter to the water…….and mix it well….


Now add the salt and the sugar and stir well…..


Next we added the spent grains…..but if you don’t have any or are not choosing to use them proceed to adding the flour.


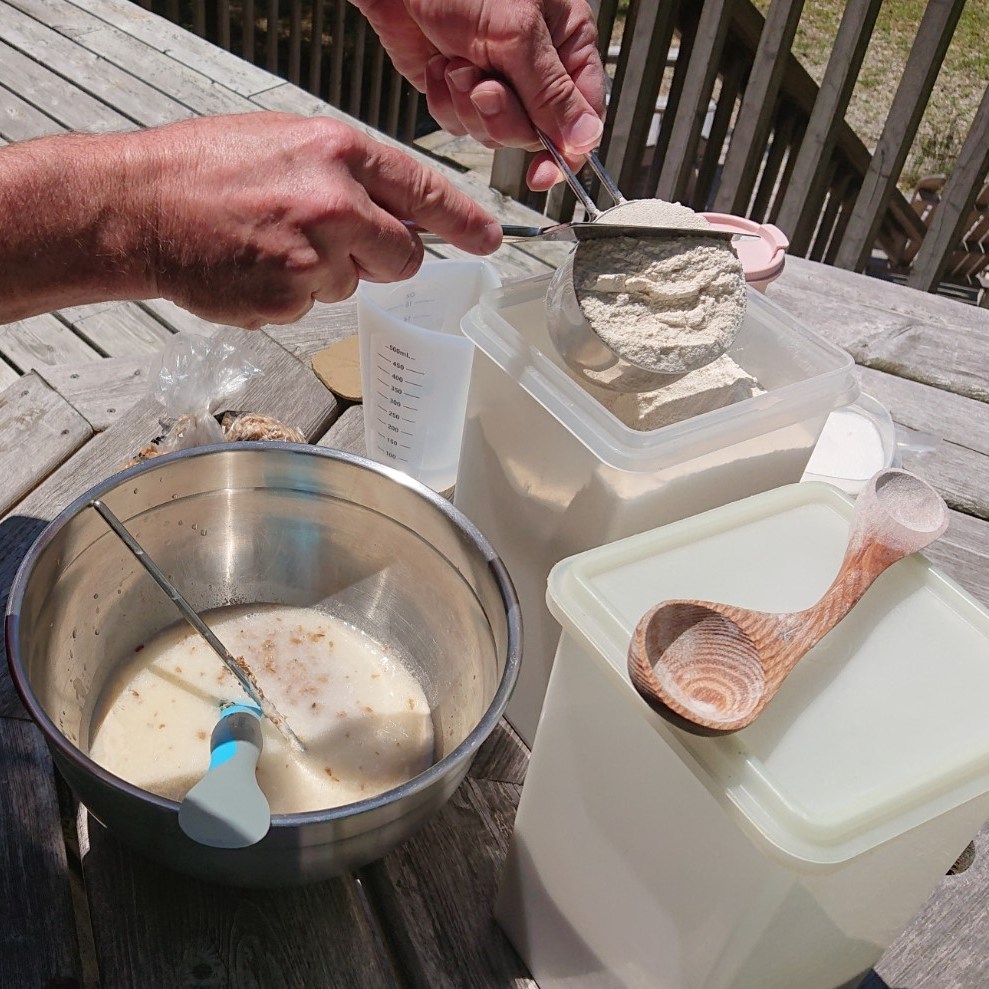
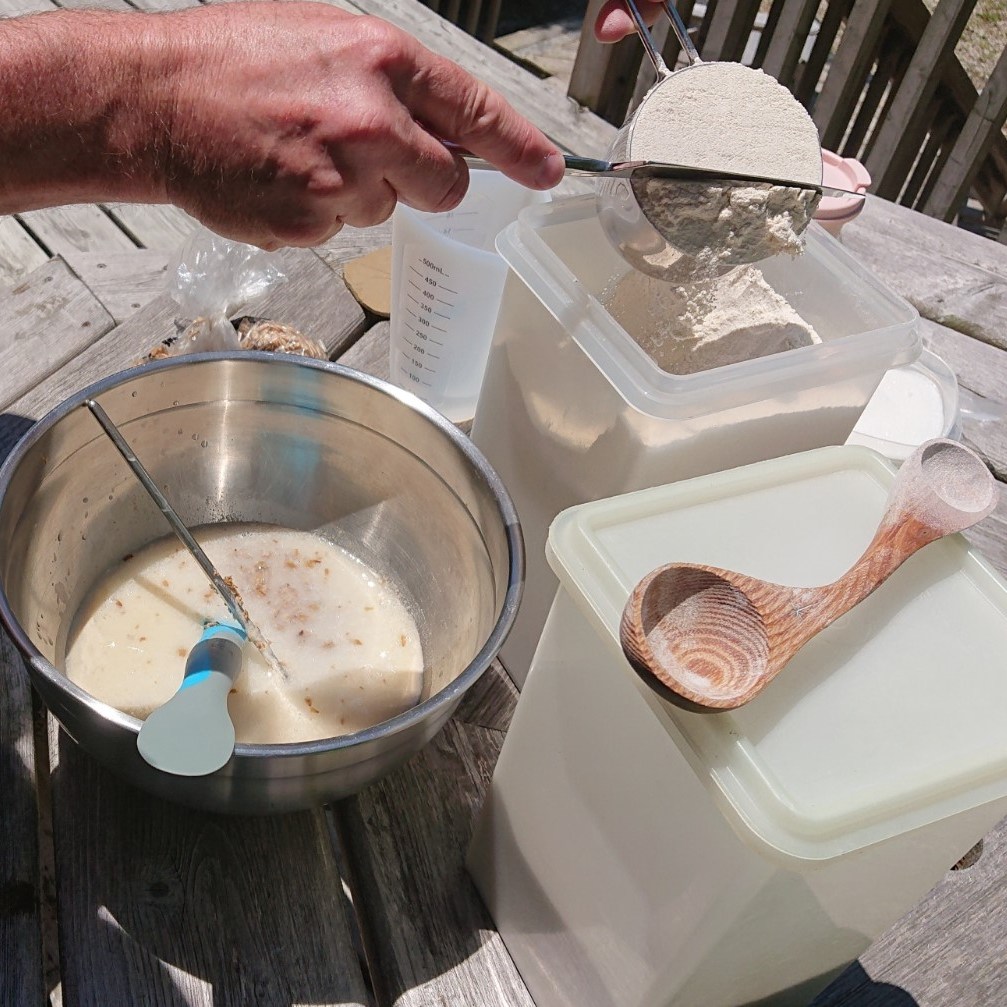
Now we are going to add the flour……4 cups….
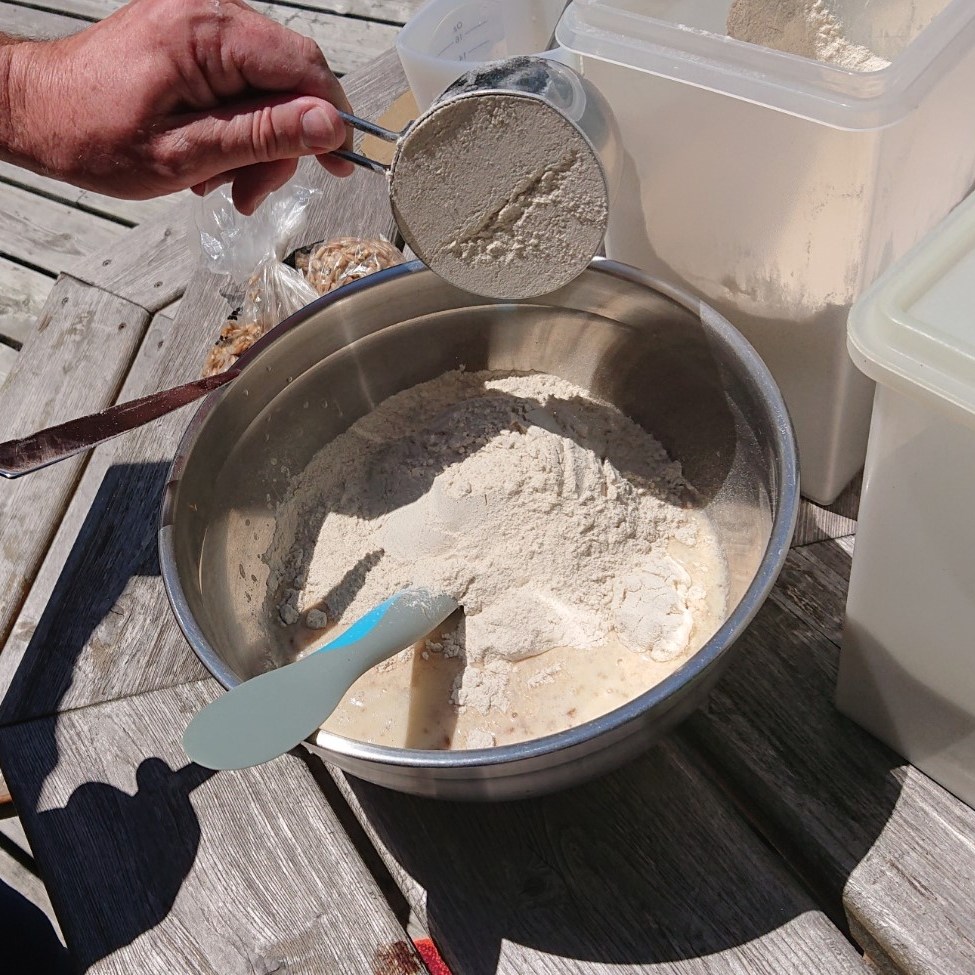
Next addition is the seeds or grains if desired…this loaf is getting sunflower seeds (roasted, unsalted)


Now mix it just until all the ingredients are combined.


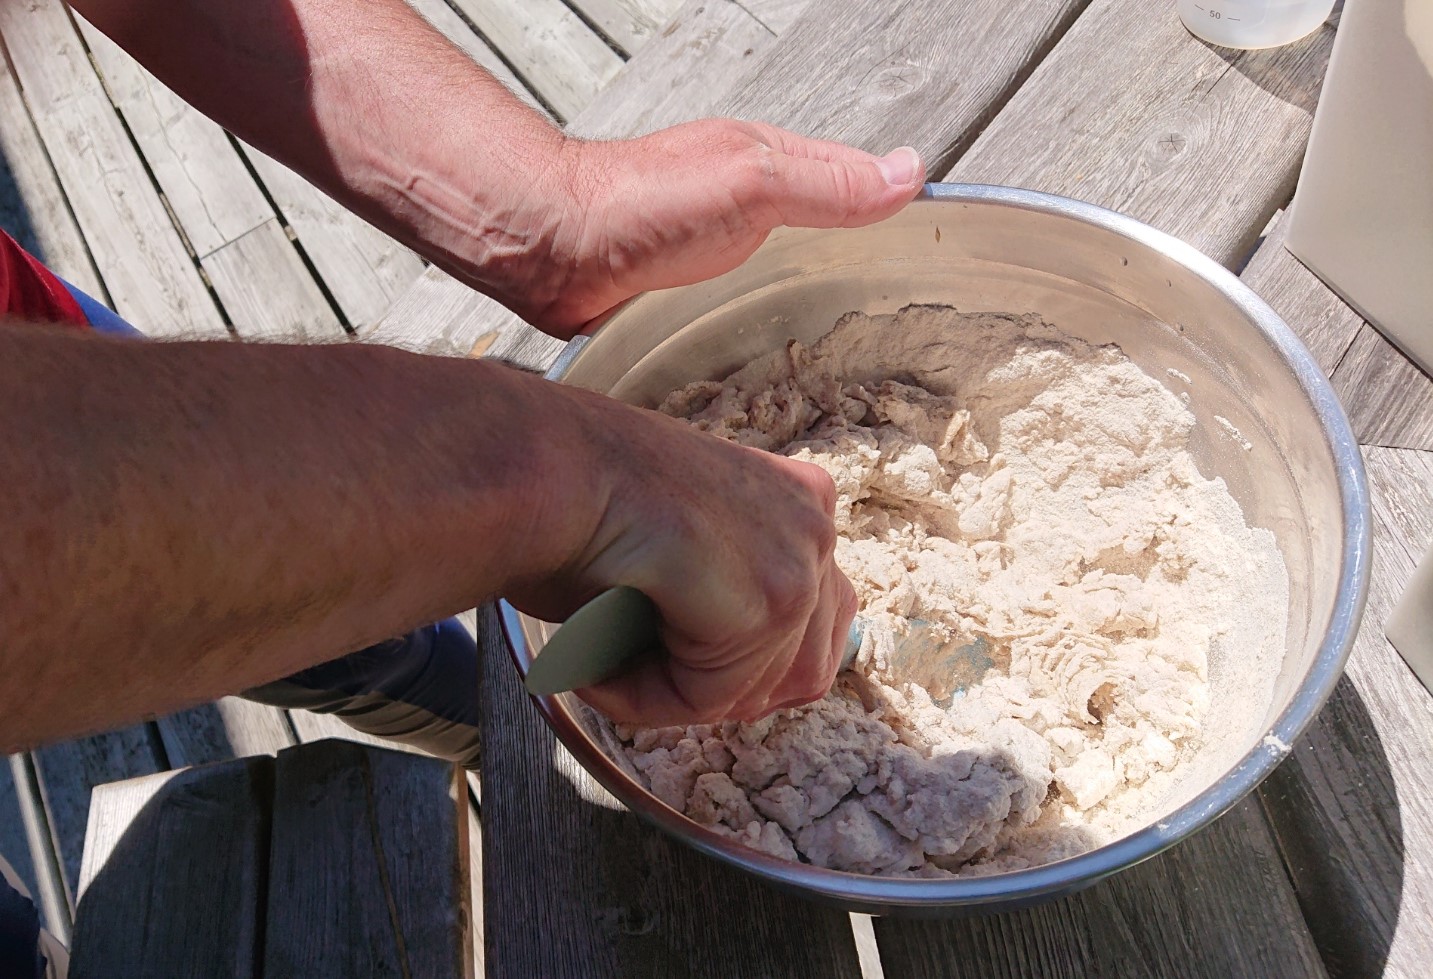


……and it should look like this…….

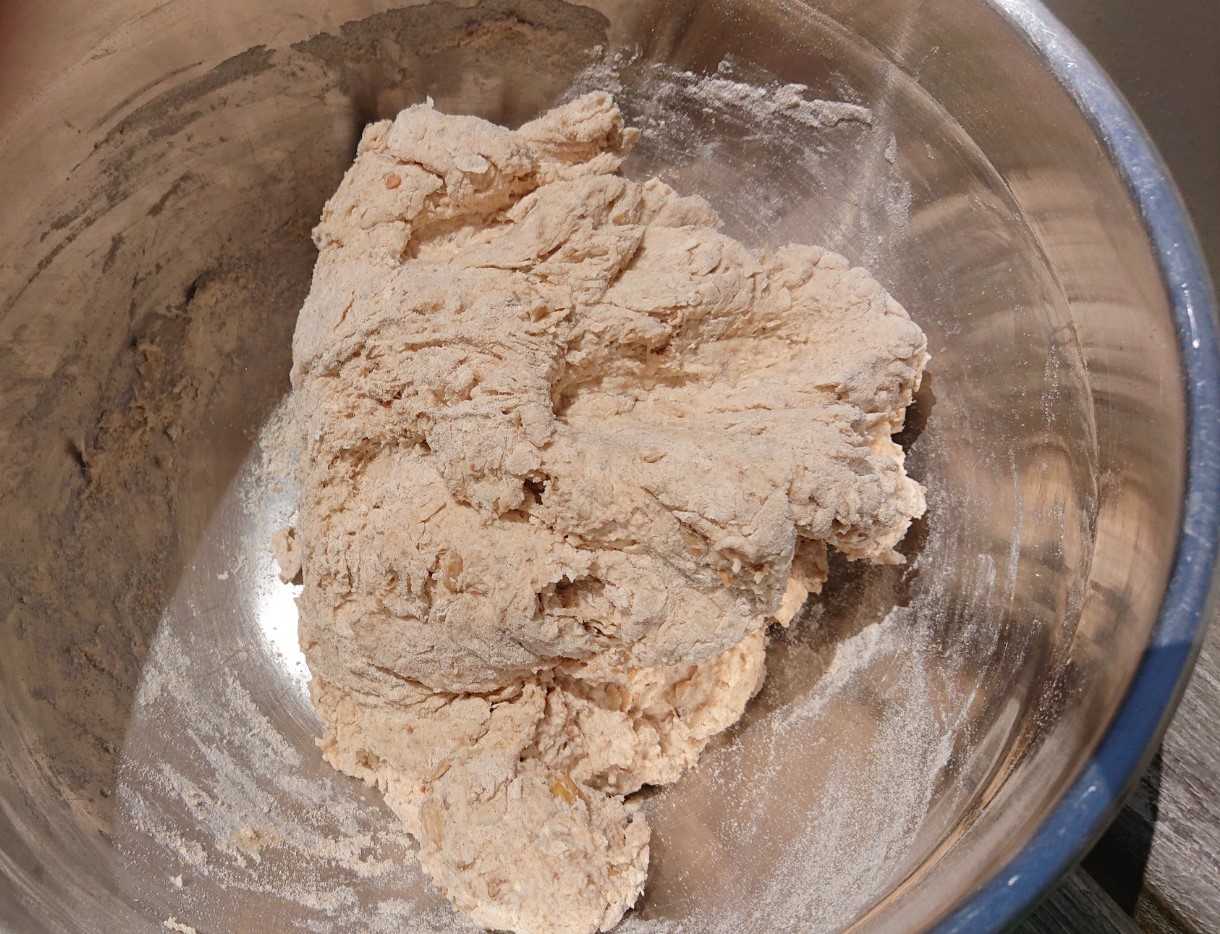
Now cover it and leave it in a warm spot for 18 to 24 hours.
Remember to feed your starter……2 to 3 teaspoons of flour and enough water to return it to a thick paste. Lid back on ( Loosely ). If you are using it again next day, leave it out at room temperature otherwise probably best to put it back in the fridge to let it bubble away slowly.


18 to 24 hours later.
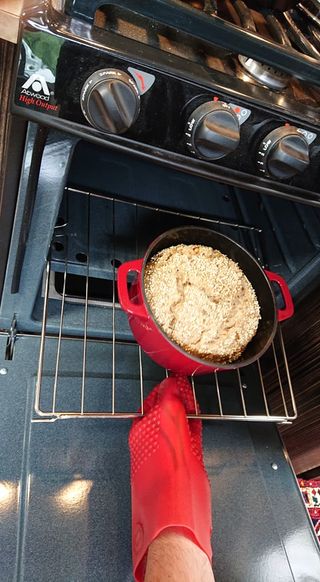
Preheat the oven ( or in our case …the barbeque..!!) to 450 degrees C with the dish in the oven as it heats.
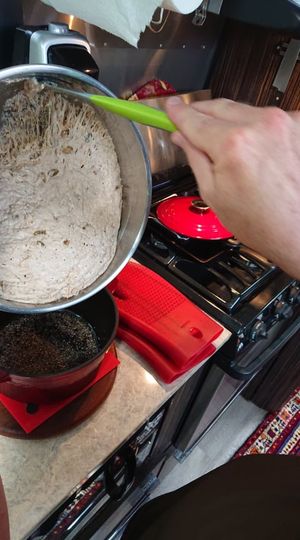
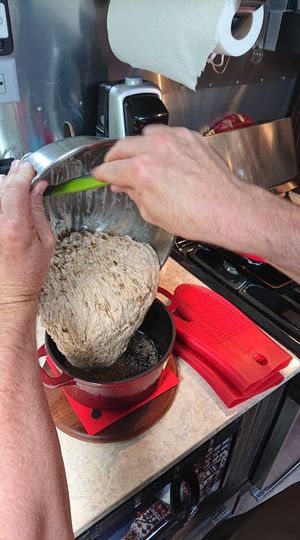
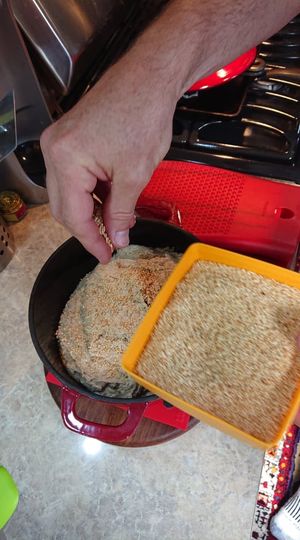
Once the oven is at temperature…take your dish out (carefully…it’s hot…!!) and take the lid off…..throw a handful of coarse cornmeal, or some kind of seeds (poppy, sesame, hemp hearts) in to the bottom of the dish to stop the dough sticking.


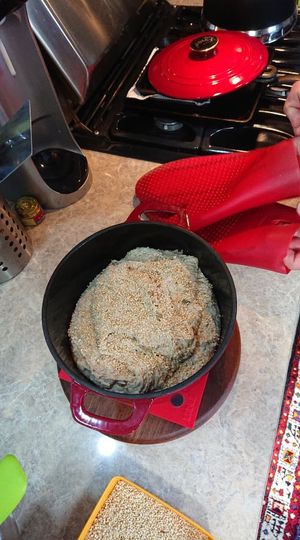
Then quickly scrape all of the dough out of your bowl and into the dutch oven…..sprinkle some seeds on top……pop the lid back on and back in to the hot oven


Set your timer for 45 minutes….and find something else to do ’til it goes off…!!!
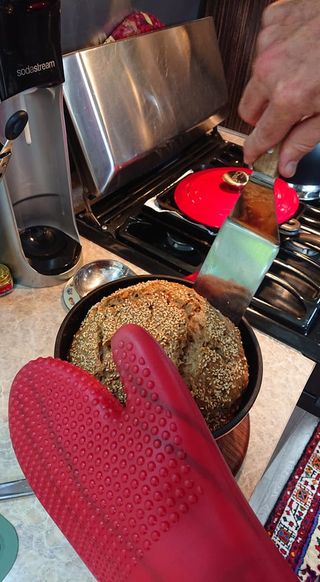
After 45 minutes, take the lid off and leave it for another 5 to 10 minutes to brown the crust.

Now take your wonderful smelling , freshly baked loaf out of the oven and use a metal spatula to scoop it out, wrap it in a tea towel or clean cloth and leave it on an elevated cooling tray until it has cooled.
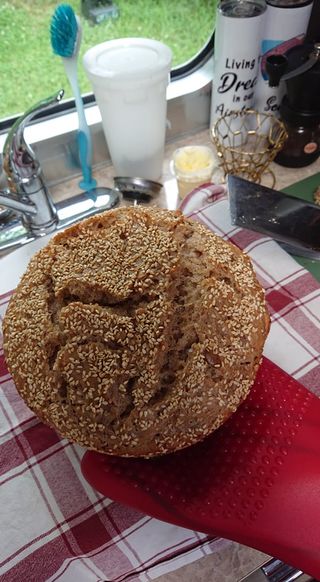
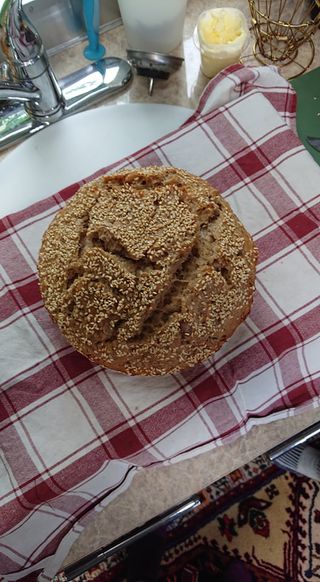
Don’t be tempted to cut your loaf too soon….it won’t cut well until it has cooled.
Another note with home baked bread……apparently what makes bread go moldy is storing it in plastic……so keep your lovely new loaf either wrapped in cloth, in a linen bread bag, or in a paper bag so the little creature can breathe.
Enjoy.

Thank you Mo its printing as I speak!Sent from my Bell Samsung device over Canada’s largest network.
LikeLiked by 1 person
😂….glad to be of service…!!!
LikeLike